For the complete documentation index, see llms.txt. This page is also available as Markdown.

Workflow rules

Automate compliance processes using customised workflow rules in Dastra.

Workflow stages vs workflow rules

Workflow stages define the steps an object moves through (e.g. New β†’ In Progress β†’ Done). Workflow rules automate actions when those steps or other events occur. The two features work together.

How it works

Workflow rules in Dastra are a set of automated actions β€” email notifications, questionnaire scheduling, task creation, field updates β€” that are executed when specific conditions are met. They allow you to automate repetitive processes and ensure that nothing falls through the cracks across your compliance programme.

Each rule follows a simple Trigger β†’ Conditions β†’ Actions logic:

Trigger β†’ Conditions β†’ Actions

Workflow rules can be applied to the following object types:

Object type

Processing activity

Request (DSR)

Data breach

Task

Asset

Stakeholder

Data field

Security measure

Category of data subjects

AI system

Contract

The number of workflow rules available depends on your plan, ranging from 25 to 100 rules. If you need more, additional capacity can be purchased. Contact your account manager for details.


Creating a workflow rule

Go to Workspace Settings β†’ Workflow rules, then click "Create a workflow rule".

You can start in two ways:

  • From scratch β€” build the rule from a blank canvas.

  • From a template β€” pick a pre-built template from the Dastra default library and customise it.

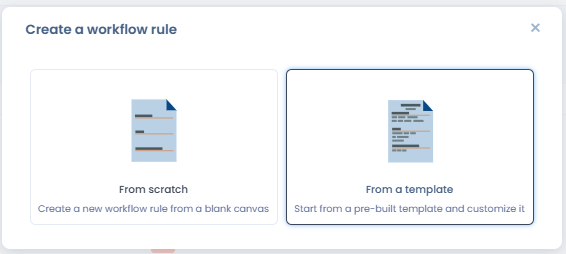
Create a workflow rule dialog β€” From scratch or From a template
Choose to start from a template rather than from a blank canvas
Template library

The template library brings together two sources of templates:

  • Dastra's default library β€” ready-to-use rules covering the most common automation scenarios: data breach handling, contract expiration, supplier reviews, DSR lifecycle, and more. Maintained and updated by Dastra.

  • Your organisation's custom templates β€” any rule your team has saved as a template. These are stored alongside Dastra's templates and available for reuse across your entire workspace.

Templates can be filtered by object type and language.

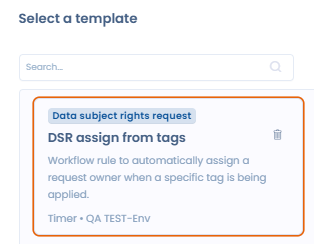
Template library showing the DSR assign from tags template
Selecting a template from the library
Saving a rule as a template

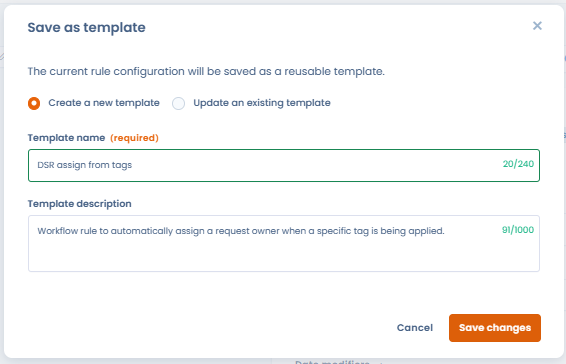
Open any existing workflow rule and click "Save as template". Give it a name and description, then confirm. The template is immediately available in the library and can be reused on any compatible object type β€” without having to reconfigure it from scratch each time.

Save as template dialog with name and description fields
Saving a workflow rule as a reusable template
This is particularly useful for organisations that want to standardise their automation rules and roll out the same workflows across multiple entities or workspaces.


Configuring the rule

1. Trigger

Two trigger types are available:

Action β€” the rule fires when a specific event occurs on the object:

Event
Description

Created

A new object is created

Created or Modified

A new object is created or an existing one is changed

Modified

An existing object is changed

Moved to bin

The object is moved to the recycle bin

Step changed

The workflow stage of the object changes

Recurring date control β€” the rule is evaluated every day at a configured time and fires based on a date field on the object. Configure the following:

  • Run every day at β€” the time at which the daily check runs (timezone-aware, e.g. 00:00 Europe/Paris).

  • Date field to check β€” the date field to evaluate (e.g. Closed date, Creation date, Review date…).

  • Date condition β€” choose one of:

    • Has passed β€” fires on the day the date is reached.

    • Date modifiers β€” add an offset relative to the date:

      • Will occur in β€” fires N hours / days / months / years before the date (e.g. 30 days before contract expiry).

      • Has passed for β€” fires N hours / days / months / years after the date (e.g. 1 day after closure).

A "View elements as if today" button lets you preview which objects would currently match the rule, useful for testing before enabling it.

Only one trigger can be defined per rule.

2. Conditions

Conditions define which objects the rule applies to. You can choose:

  • Apply to all β€” the rule runs on every object matching the trigger, with no further filtering.

  • Apply some conditions β€” filter by one or more field values (e.g. "Step is equal to New", "Awareness date is before 01/01/2025").

Conditions can be combined using And / Or logic, and grouped together to cover complex scenarios. Use "Add a condition" to add a line within a group, and "Add a group of conditions" to create a separate logical block.

3. Actions

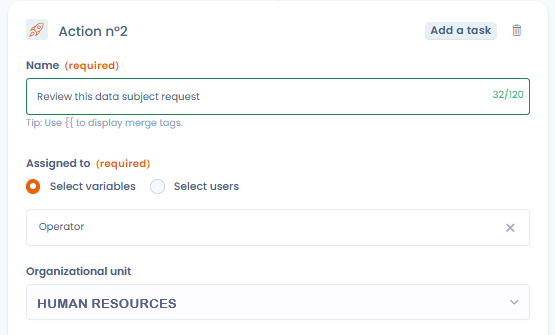
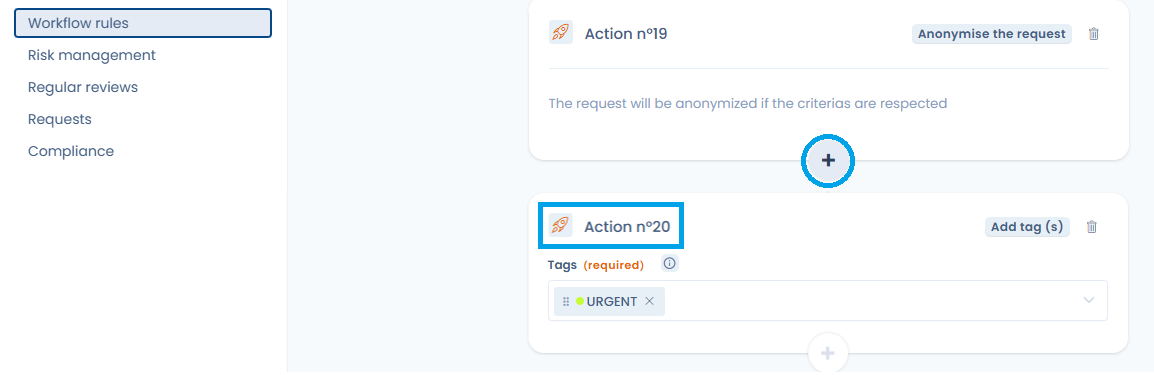
Actions define what happens when the trigger fires and conditions are met. You can chain multiple actions within a single rule, up to a maximum of 20 actions per rule. Beyond that, the add button is disabled and a message indicates that the maximum has been reached.

Workflow rule with up to 20 actions
A rule can contain up to 20 actions

Actions available for all object types:

Action
Description

Edit a field

Update one or more fields on the object

Define owner

Assign a user or team as owner of the object

Add a task

Automatically create a task linked to the object

Send notification

Send an email notification to one or more recipients

Add tag(s)

Apply one or more tags to the object

Schedule a response to a questionnaire

Assign a questionnaire to the object automatically

Additional actions for Requests (DSR) only:

Action
Description

Send a message to the requester

Send a message directly to the data subject

Close the request

Automatically close the DSR

Move to recycle bin

Move the request to the recycle bin

Anonymise the request

Anonymise the request (only available if the request is closed)

Linking a message template to an action

For rules linked to rights requests (DSR), the "Send a message to the requester" action can rely on an existing message template rather than manually entered content.

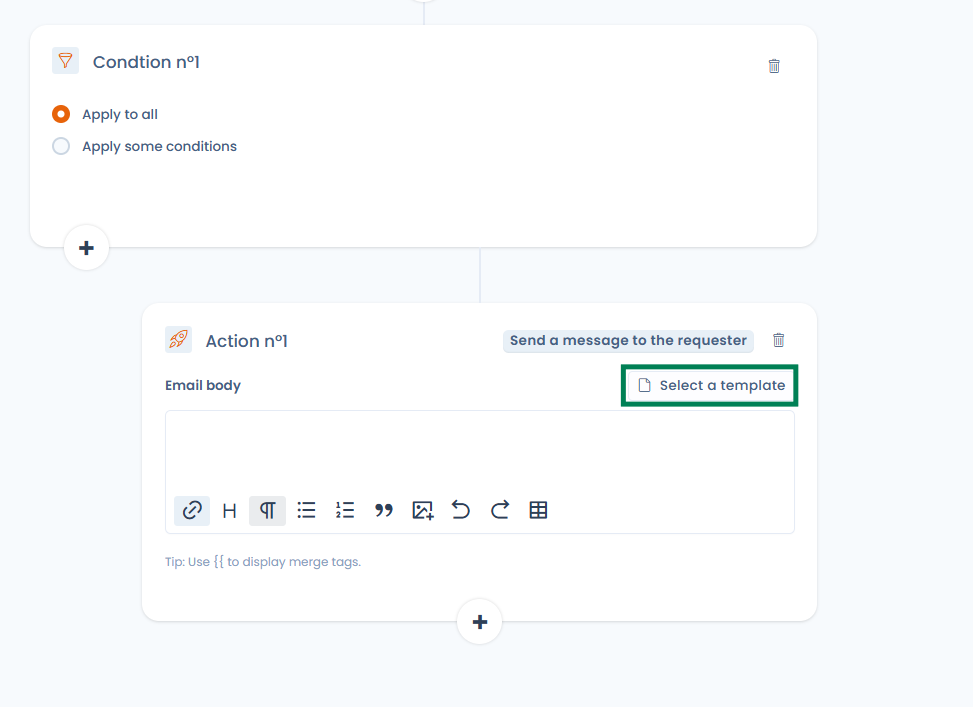
Send a message to the requester action with the Select a template button
The "Send a message to the requester" action offers "Select a template"
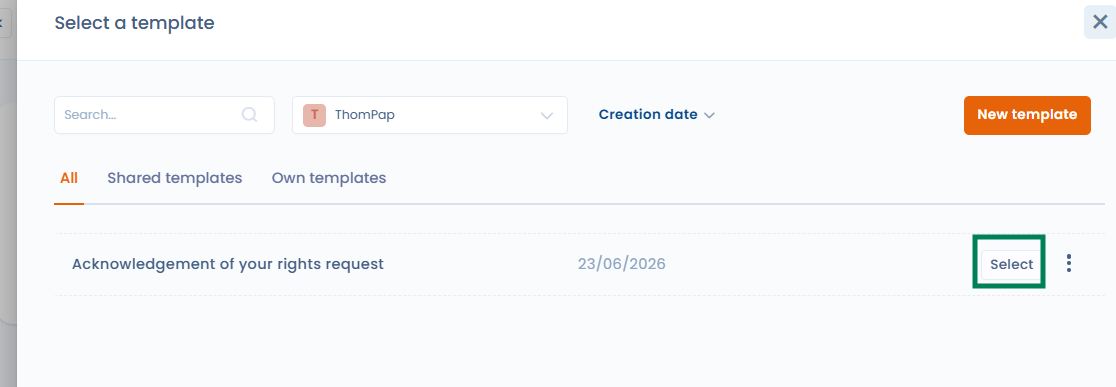
In the action, click "Select a template", then choose a "Request message" template from your workspace. When the rule fires, the template content is retrieved and custom variables (for example {{ givenName }}, {{ refId }}) are substituted automatically.

Message template selection dialog
Choosing a "Request message" template from the workspace
  • The message sent always uses the up-to-date version of the template, even if it is modified after the rule is created.

  • If the linked template is deleted, execution fails explicitly: the message is not sent silently.

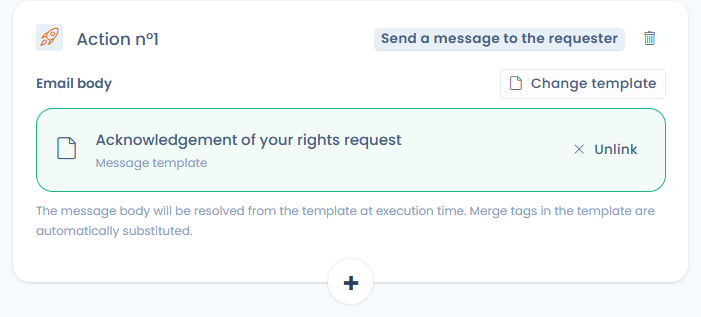
  • Rules using manual content are not affected. You can switch back from a linked template to manual content at any time by clicking "Unlink".

Action with a linked message template and the Change template and Unlink buttons
Once linked, the template can be changed or unlinked; variables are substituted at execution time
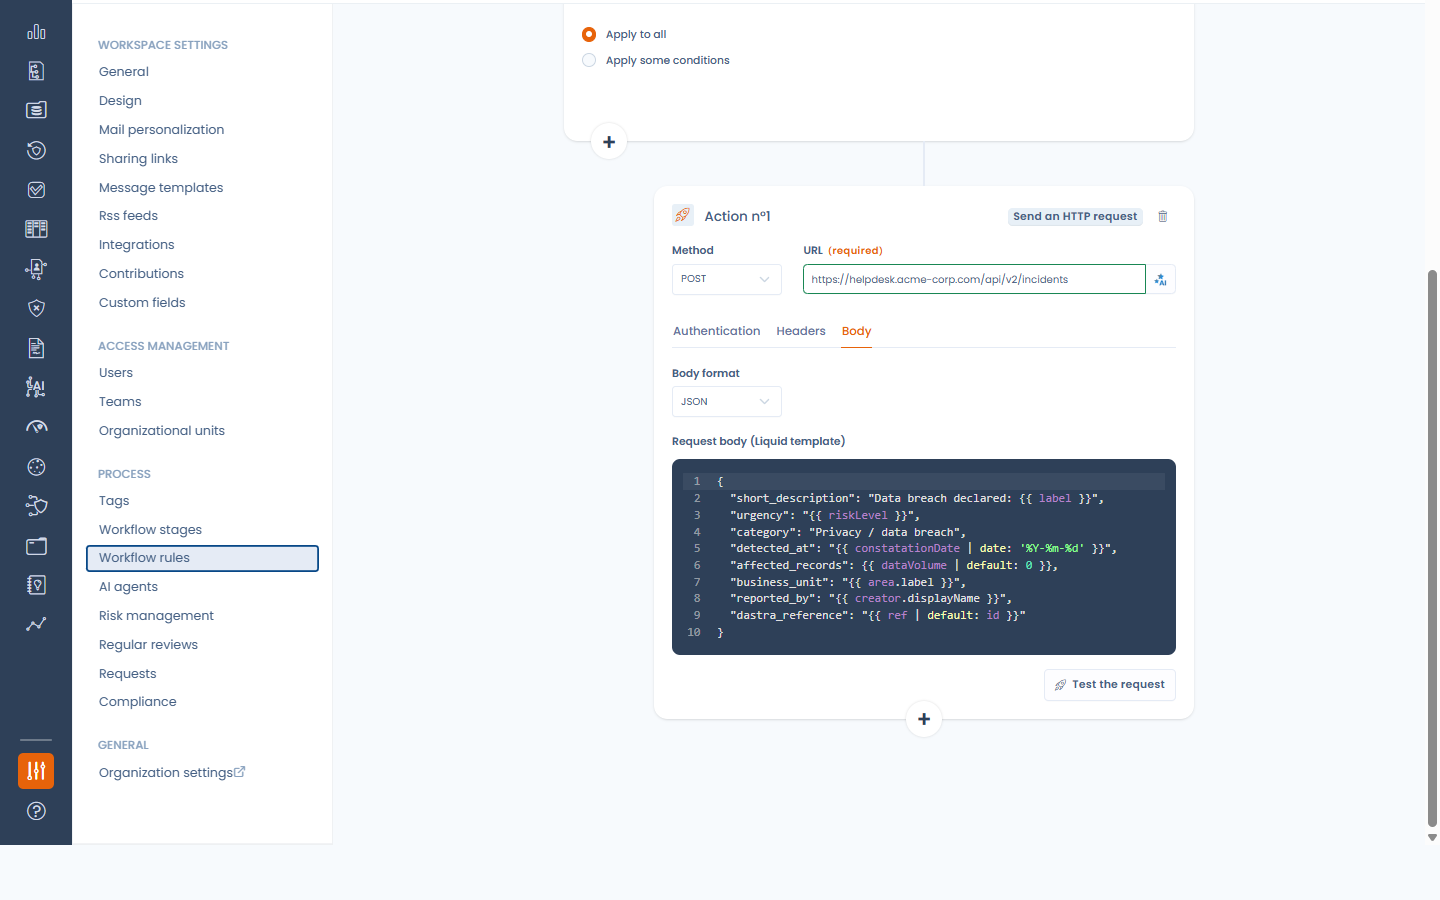
Custom variables in notifications

When writing notification content or field updates, you can inject dynamic values from the trigger object using the variable syntax. Dastra uses a templating engine based on LiquidJS.

Type {{ to display a list of available variables for the current object type.

Display a string variable (e.g. the processing reference):

Display all values of an array variable (e.g. tags):

Display only the first value of an array (e.g. first accountable person):


Execution history

Each rule maintains a full execution history. Click "History" from the rule editor to view:

  • Date of last execution

  • Status: Processed / Error

  • Number of executions

  • Message: Success or error detail

From the history panel, you can also:

  • See linked object β€” navigate to the object that triggered the rule.

  • Restart rule execution β€” re-run the rule on the same object.

  • Reset β€” clear the execution record for that entry.


Manual execution

You can trigger a rule manually at any time using the "Execute" button in the rule editor. This opens a modal where you select the target object on which the rule should run. The trigger is ignored β€” only the conditions and actions are applied.

This is useful for testing a rule, or for applying it to an existing object that was created before the rule was set up.

Last updated

Was this helpful?